
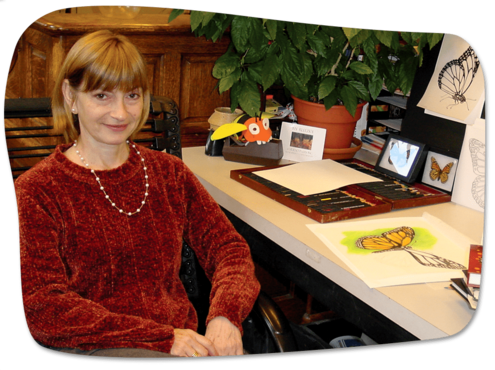
My name is Ivy Rutzky, and I'm a scientific assistant at the Museum. I also write and illustrate science books and Web sites for kids. I'm going to show you how to do a scientific illustration of a monarch butterfly in a few easy steps.
Scientists prefer to use drawings of their specimens rather than photographs. Why? When you draw you can:
- remove any distracting background
- show a lot more detail
- make sure you get the colors right
- show your subject from the angle of your choice
- learn a lot about your subject because you take the time to draw it
What You'll Need
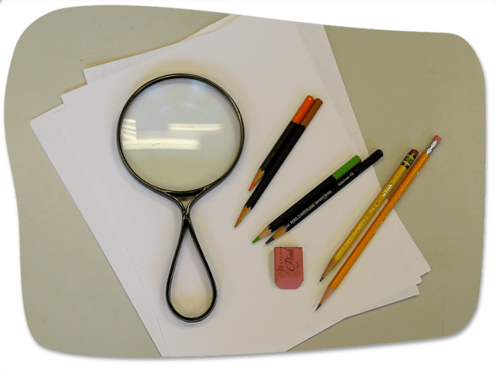
- monarch outline drawing: print this out!
- research materials: Gather color photos and illustrations of monarch butterflies. Here is a photo to get you started.
- 1 hard pencil (#3) for tracing: hard pencils make soft, light lines and are good for tracing pictures.
- 1 soft pencil (#1 or #2) for outlining and filling in the picture: soft pencils make hard, dark lines and are good for making a heavier outline.
- 4 colored pencils: tan and orange pencils for the monarch butterfly, light-and-dark green pencils for the background.
- paper to draw on
- 1 pink pearl eraser: just in case!
- magnifying glass (optional): you'll find an inexpensive magnifying glass at any stationery store—it will help you to look closely and see more detail.
What to Do
Follow these steps to find out how to draw a scientific illustration!

Step 1: Research

Look in books and magazines like Natural History and National Geographic for beautiful photographs or illustrations of monarchs. You can do your research online or at a library.
TIP: A mix of scientific illustrations and photographs gives the most accurate idea of colors. Looking at images of monarchs from different angles and in different poses will make your drawing more lifelike.
Here is a photo to get you started.

Step 2: Developing Observational Skills
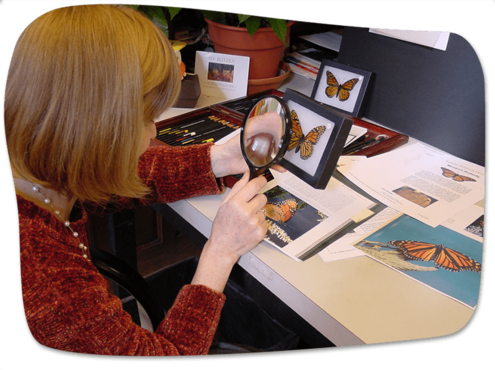
To develop good observation skills and understanding of monarchs, look closely at the references you have.
Notice the details of the butterfly:
- How big is its body? What shape is it?
- Where are the patterns on the wings? Do you see any veins?
- Where are the eyes? What shape are they?
Lightbulbs go off when you draw. You notice things that you might never have noticed otherwise!

Step 3: Tracing
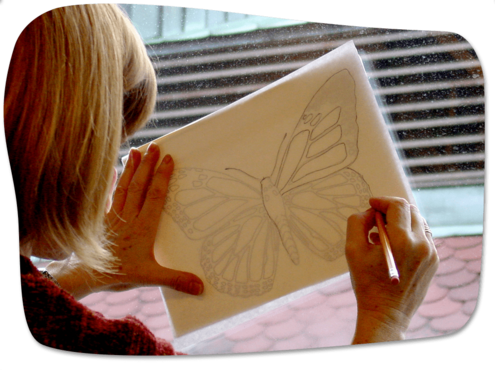
- Look closely at the picture you are going to draw for a minute before you start. (If you forgot to print it, here it is again.)
- Hold the printed outline up to a window. The sunnier the better!
- Put your blank page on top.
- Using your hard pencil (#3), lightly trace over the outline and all the details of the butterfly.
- When you have finished, remove your tracing and the outline from the window.
TIP: Tape both the outline and your paper to the window. This will keep both pieces of paper firmly in place as you draw.

Step 4: Filling in the Illustration
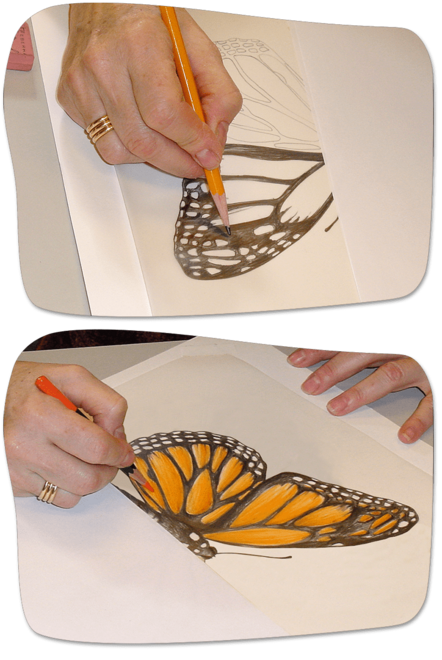
- Start by making a black outline with short, heavy lines around your tracing using your #1 or #2 pencil.
- Draw around the white dots in the wings and then make short zigzag lines around them. Use the tan pencil to fill in the wing color. Start at the edges. Look carefully at your reference materials as you do this and leave the centers of the wings white.
- Make large lines with your orange pencil. Carefully go over the tan areas and then the rest of the white wing space, except for the white dots.
TIP: Put a piece of plain white paper under your drawing hand to avoid smearing the drawing. Turn the drawing around as you work—don't forget to turn the white paper also to keep it under your drawing hand!

Step 5: Doing the Background
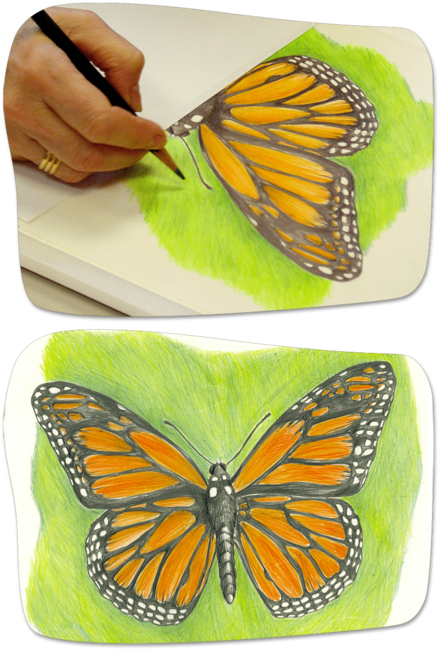
- Put some shape around your drawing to create the feeling of a background. Nature magazines often show an insect or animal in sharp focus while the background is fuzzy.
- Use the light green pencil to make an interesting shape around the butterfly, and use the dark green pencil to give a sense of shadows. A little goes a long way!
TIP: You can draw short, zigzagging lines to make it look as if the butterfly had just landed on some grass. Keep the lines soft and fuzzy, and your butterfly will stand out beautifully!
Want to draw more butterflies?
Download this PDF for pictures of butterflies from Taiwan. Find out more about them in the Butterfly Kingdom.
Plant a Butterfly Garden
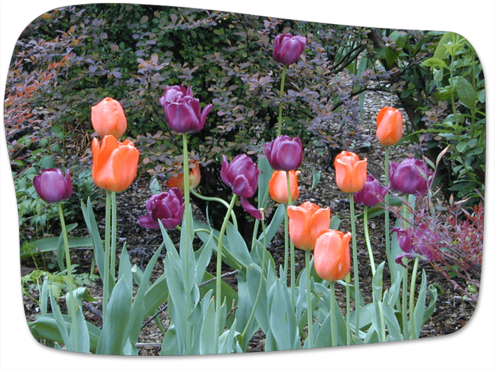
See lots of butterflies by planting a garden that will attract them. You can add plants to your yard if you have one, and plant a window box if you don't.
- Grow flowering plants that attract local butterflies. Do some research online or in your local bookstore or library to identify these plants.
- Include both the plants that adult butterflies collect nectar from and the plants that caterpillars eat.
- If possible, let some dandelion and clover grow in your grass. Butterflies love them!
- Plant your flowers in sunny spots. Also, provide rocks and stones for sunbathing butterflies!
Image Credits:
Photos: AMNH; Illustrations: Ivy Rutsky


 Biodiversity
 Brain
Brain
 Genetics
 Marine BiOLogy
 MicrobiOLogy
 PaleontOLogy
 ZoOLogy
 AnthropOLogy
 ArchaeOLogy
 Astronomy
 Climate Change
 Earth
Earth
 Physics
 Water
Water
