Problem Solving
Box trays:
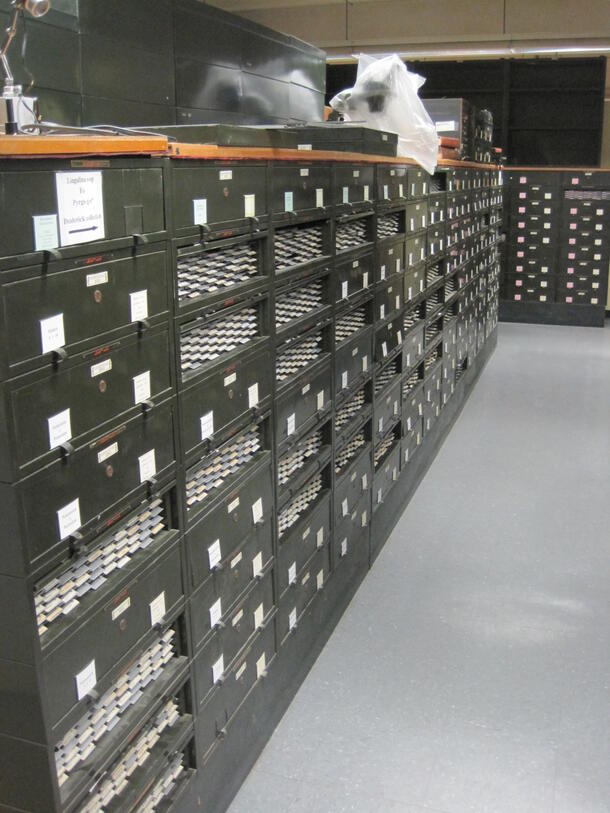
Research showed that the most common storage for specimen slides are custom made or free standing slide cabinets with metal slide drawers to store slides horizontally. We could not accommodate either option because of the expense and the sprawling space needed for such storage. To resolve space and storage issue, we developed customized archival quality cardboard boxes that allow us to arrange the slides horizontally in a limited space.
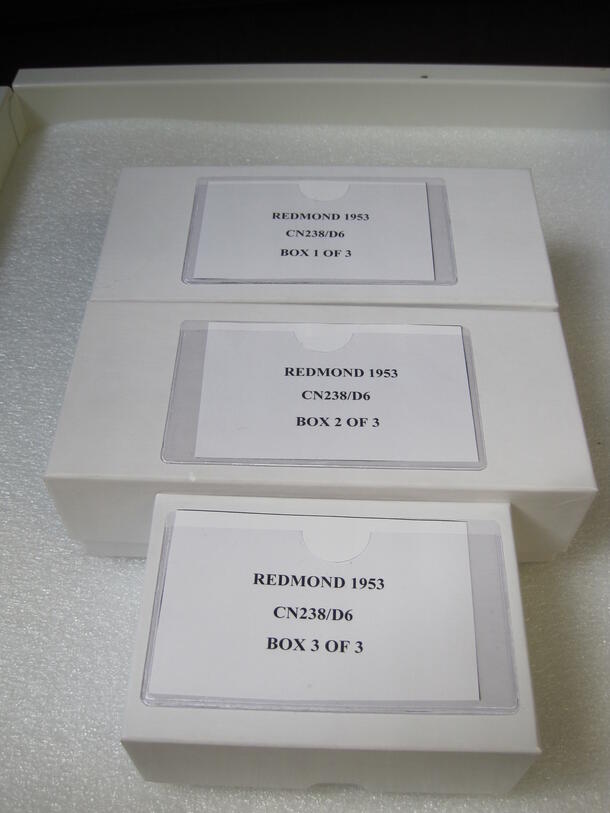
A prototype for these boxes was designed by staff and made for our collection by All Packaging Co. The boxes are of two sizes and will accommodate the horizontal storage of the microfossil slides in groupings to reflect the publication in which they are cited. The boxes have a plastic pouch on the outside to house printed labels associated with the slides.
Aluminum slide holders and slide pushers:

Many aluminum slide holders in the slide collection were missing or damaged and needed replacement. We purchased several thousand aluminum slide holders from Green Geological for this purpose. We discovered that the aluminum is 0.1 mm thick and bends easily upon handling. The edges that clamp down on the cardboard slides arrived tightly bent and needed to be pried up to slide in the cardboard slides. The aluminum edges are fairly sharp and if handled by hand can easily cause cuts and nicks. One option was to return the holders and request the vendor to use higher-grade aluminum to make the holders in order to prevent bending, warping and twisting.
The second option was to find a solution. We discussed both options with vendor and we chose the most cost effective option-the slide pushers. The vendor sent us the slide pushers along with a Youtube video to demonstrate how the pushers are to be used to pry open the aluminum holder edges. We were given to understand that the slide pushers could be inserted to lever the edge up, enough to slide the cardboard and glass cover in.
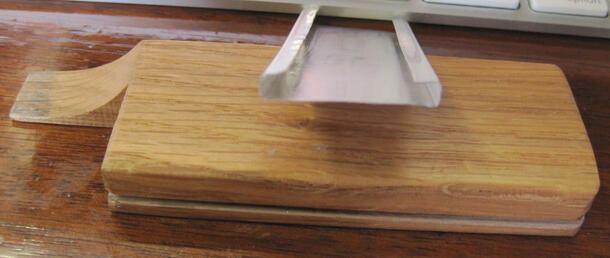
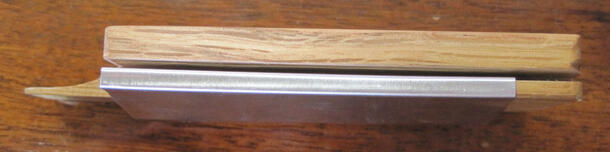
Although the received slide pusher did propel the slide in to the holder, the edges would still warp, bend and twist because of the thin grade of aluminum used, resulting in uneven edges. This tool decidedly needed further tweaking. We asked our carpenter shop to take the existing indentation on the edge of the slide pusher and crosscut a groove all the way across on one side of the pusher to fit the 28 ply aluminum slide holder. This totally solved the problem by neatly inserting the beveled groove of the pusher under each edge of the aluminum holder and gently but fully raising it lengthwise (without warping) to fit the slide height.
Cover Paper
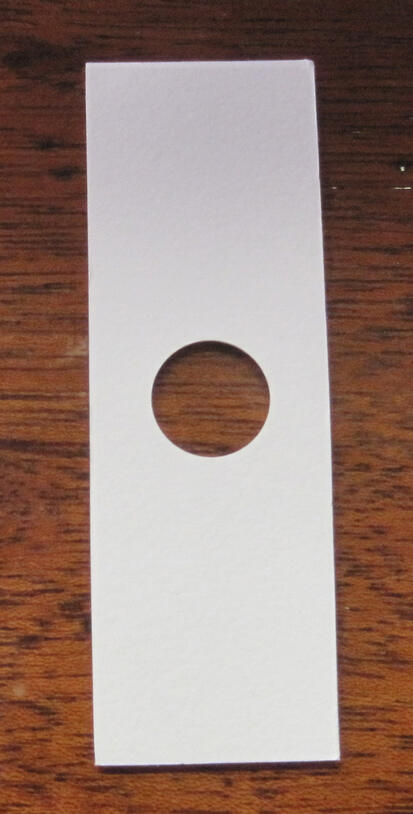
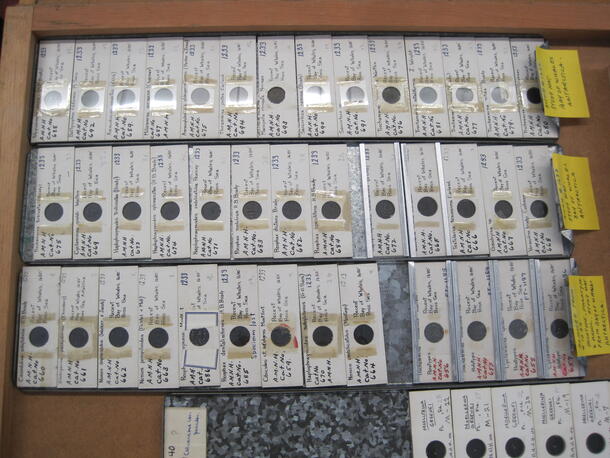
In some cases the 3x1 inch cover paper of existing cardboard slides yellowed and deteriorated, and needed replacement. But upon examination of such slides we discovered that the cardboard slide was still in good shape and the specimens are still glued in the well in place. To avoid further damage to the fragile specimens and to handle the specimen minimally, or to avoid rehousing the specimen in a new slide; we decided to peel off the damaged yellowed cover paper and replace it with archival quality acid free cover paper with a hole that Green Geological agreed to provide for us. We ordered One Hole Barrier Vapor Faces (cover paper with one hole), then peeled off the top cover paper of existing specimen slide with an Xacto knife and glued on the purchased One Hole Barrier Face with archival quality adhesive. We then transcribed all the information from the old cover face to the new cover paper now adhered on top of slide.
Mounting forams for CT scanning
The standard mounting procedure for scanning is to use brass mounts, and adhere the tiny, speck-of-dust-size foram with some adhesive, usually nail polish since it can be removed with acetone without damaging the specimen. The CT scanner at the AMNH was not equipped for this. Another method had to be found. Some suggestions were using gum tragacanth that is water-soluble and mount the foram on a pin-head, or a stick, or insert foram in an an ink capillary of a ball-point pen, after the ink has been used.
We tried all other methods suggested by various experts in the field, but none of them worked. When we used the nail polish as adhesive, the acetone made the specimen so fragile that it broke when we were trying to roll it gently out of the adhesive with a brush. The gum tragacanth was not stable enough to endure the overnight microcosmic shaking of the scanner or perhaps the specimen didn’t adhere properly, thus the specimen disappeared even before being unmounted from the head of a stick.
Extracting a specimen out of an ink capillary is an exacting and tedious process that we don’t wish to repeat again.
The above experience gave us ideas on how we don’t want to mount our specimen. We were certain that it must not sit on a pin-head or a stick head or a brass mount etc., but it must be contained within a tube similar to a capillary, something wider than a capillary to allow for easy extraction. We also decided not to use any adhesives.
We are among the first to tackle the challenges of CT scanning microfossils, so any solution for mounting microfossils for this purpose is significant. We had to apply some creativity to come up with our novel method.
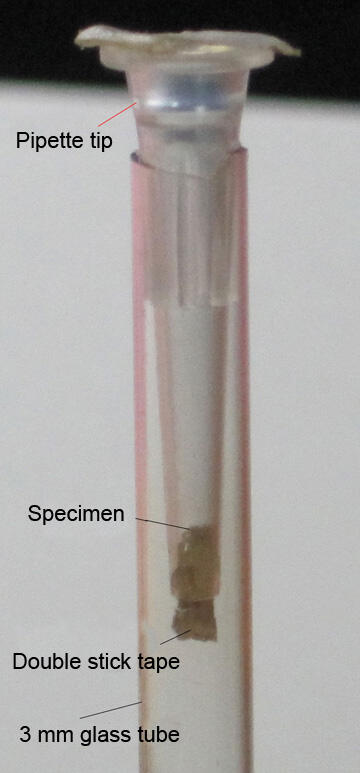
The method we developed to mount a microfossil is as follows:
- Take a plastic pipette tip cone (2-20 ul) and slice the bottom or narrow tip end to make a hole slightly greater than 2mm in size.
- Take double stick tape and roll it tightly and push into base of bottom tip to block the hole.
- Pick up foram using a wet brush tip and drop gently into the bottom of pipette tip. The specimen lands on top of double stick tape.
- Use brush tip to arrange foram in correct orientation if possible.
- Insert pipette tip into a 3 mm NMR 8 inch glass tube.
- The wider top or cone end of the pipette tip is greater than 3mm, and prevents cone tip from falling all the way to the bottom of the 3 mm tube, thus holding it in place at the top end.
- Cover wide top open end of pipette tip with tape to prevent specimen from falling out.
- After scanning, pull out cone tip gently.
- Lay tip on large sheet of paper or tray
- Gently pull the double stick tape out of bottom hole. The specimen will glide out with the tape.
- Use wet brush to gently remove specimen from sticky tape and drop specimen back into slide.