
Each night, the Moon looks a little different. Sometimes it's almost round, and other times it's just a sliver. But the Moon doesn't really change—all that changes is our view.
Unlike the Sun , the Moon doesn't make any light of its own. Though it looks like it glows, it's really just reflecting light from the Sun, like a giant bike reflector. In a way, there's no such thing as moonlight—it's all reflected sunlight!
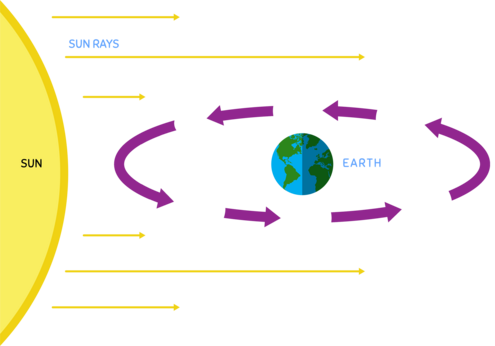
Think of the Moon as a giant ball. One half of the ball is always lit by the Sun. As the Moon moves around Earth, different amounts of the sunlit half come into view. Since we can only see the lit-up part, the Moon seems to grow and shrink. We call these changing views the 'phases' of the Moon.
Phases of the Moon
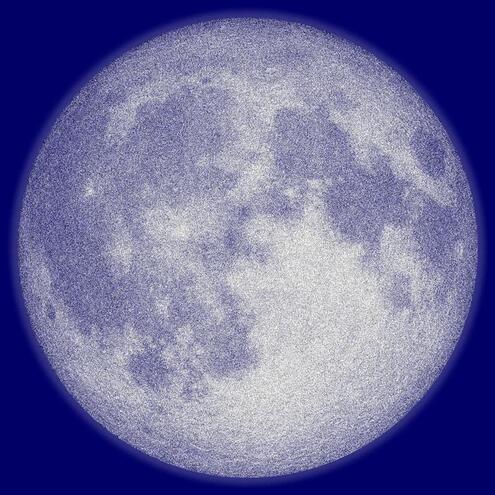
Full Moon
The entire sunlit half of the Moon now faces Earth. You can see the full Moon all night long.
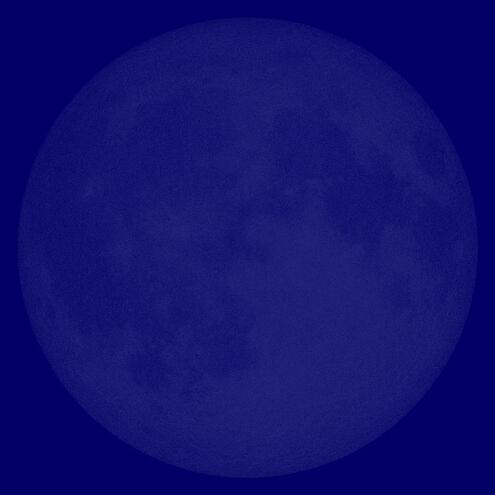
New Moon
The sunlit half of the Moon is facing away from Earth. During this phase, the Moon is dark.
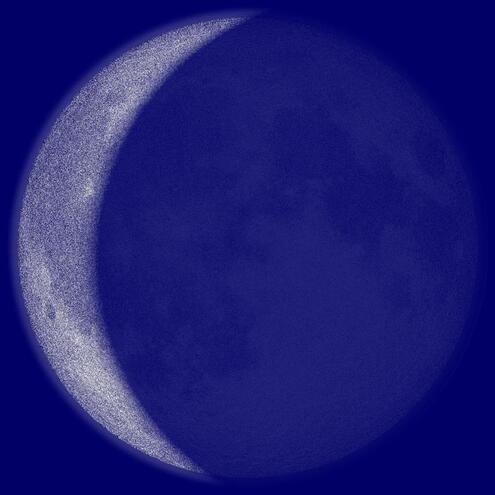
Waning Crescent Moon
Only a small sliver of the sunlit half can be seen. To see the Moon during this phase, look for it from very early morning through the afternoon. Less and less of the sunlit half will be seen each night. (Waning means decreasing.)
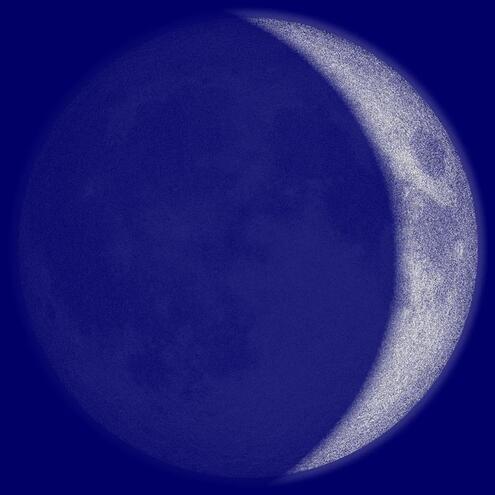
Waxing Crescent Moon
Only a small sliver of the sunlit half can be seen. At this phase, the Moon is best observed just after sunset. More and more of the sunlit half will be seen each night. (Waxing means increasing.)
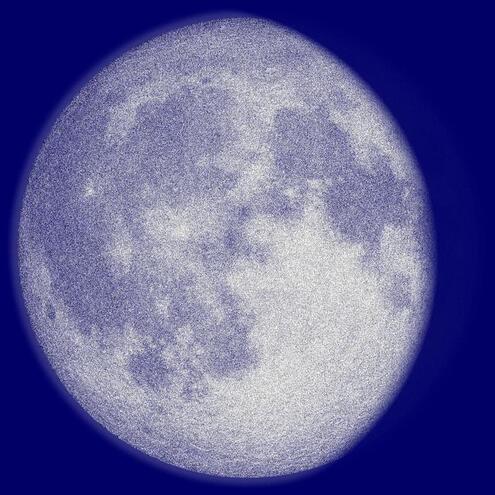
Waning Gibbous Moon
Three-quarters of the Moon's sunlit side now faces Earth. The best time to view this phase is very late at night to early in the morning. Less and less of the sunlit half will be seen each night. (Waning means decreasing.)
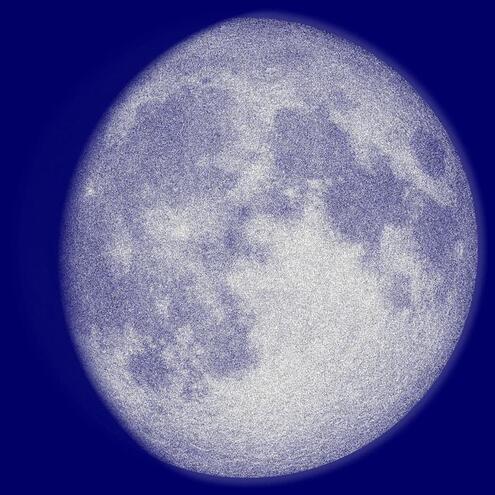
Waxing Gibbous Moon
Three-quarters of the Moon's sunlit side now faces Earth. At this point, the Moon is best seen after sunset through late evening. More and more of the sunlit half will be seen each night. (Waxing means increasing.)
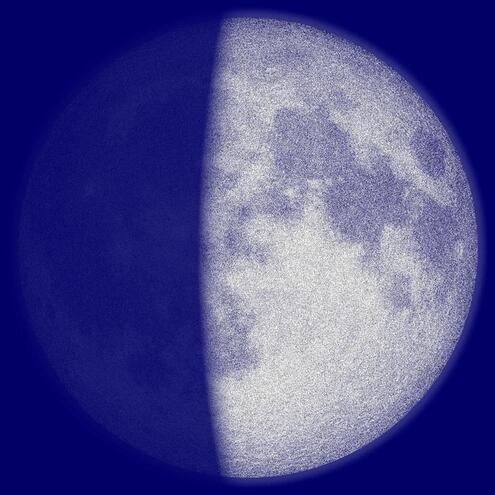
First Quarter Moon
Half of the sunlit face of the Moon is visible from Earth. The best view of the Moon will be after sunset through the evening.
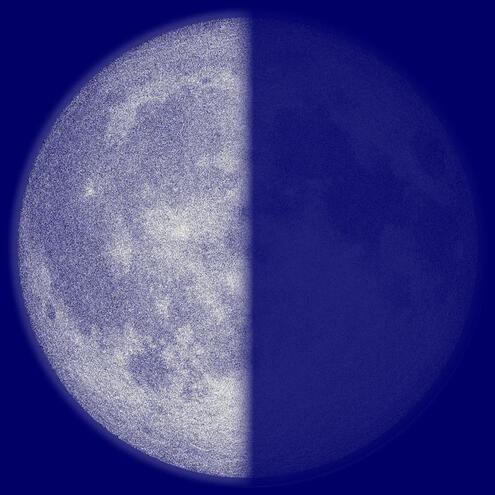
Last Quarter Moon
Half of the sunlit face of the Moon is visible. The best time to look for the Moon during this phase is from the middle of the night through the morning.
Instructions:
Tap the little moons on the diagram to see how the Moon looks from Earth at different times.
How to Make It

Print out a copy of the Moon Watch Log (PDF).


Over the next month, draw your observations of the Moon each night, using the circle as a guide.


The Moon does not rise at the same time each night, so check the illustration of the Moon's phases (above) to find the best time to look for the Moon.
Making Observations

Note the date, time, and weather each night when you make your drawing.
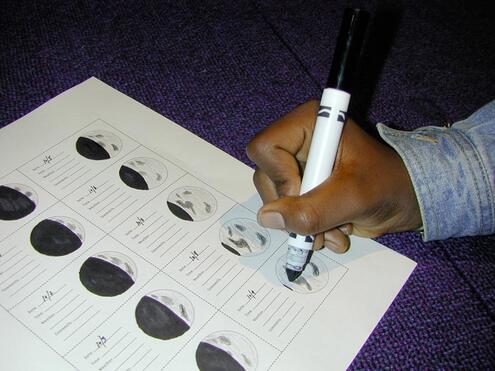


You might not be able to see the Moon, or it might be partly hidden by clouds. You can draw the cloud-covered Moon, or look in the newspaper to see what it looks like behind the clouds that night.


If the Moon looks a little red or orange one night, draw this too. You might want to use some colored pencils to make an accurate picture of the Moon.
Putting It Together
Once you've completed 29 days of observations, you are ready to make your Flip Book.

Cut each page of your journal along the dotted lines.
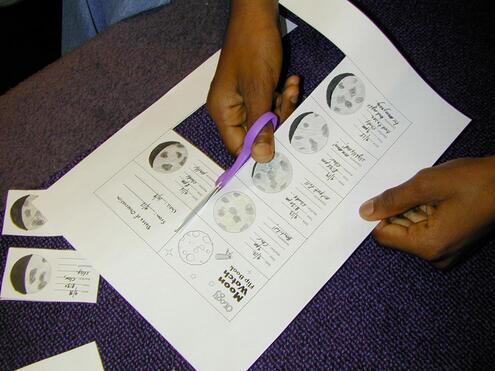


Make sure they're in the right date order, with the earliest day on the bottom.
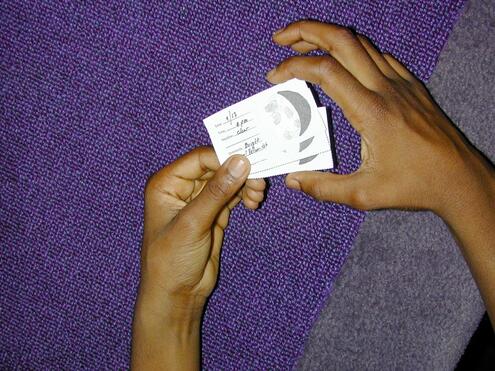


Line up each slip of paper so the Moon circle is on the right side, and the date, time, and weather information is on the left. Clip or staple the pages together on the left side.
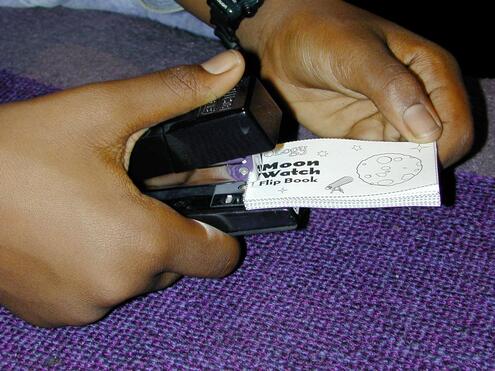


You can now see the Moon pass through all its phases in just a few seconds. Talk about instant replay!
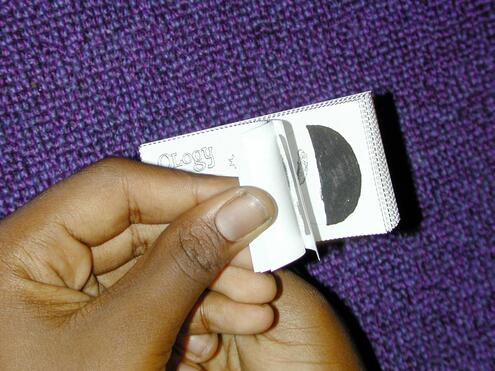
Image Credits:
Photos: Moon Watch Flip Book-Moon: courtesy of NASA; Illustrations: Quinten Steenhuis


 Biodiversity
 Brain
Brain
 Genetics
 Marine BiOLogy
 MicrobiOLogy
 PaleontOLogy
 ZoOLogy
 AnthropOLogy
 ArchaeOLogy
 Astronomy
 Climate Change
 Earth
Earth
 Physics
 Water
Water
