Make a Barometer
to Measure Air Pressure
The Earth is surrounded by a layer of air called the atmosphere. The air in the atmosphere has weight, and it's pressing down on the Earth all the time. This pressure is called air pressure. Changes in air pressure are measured with a very sensitive instrument called a barometer.
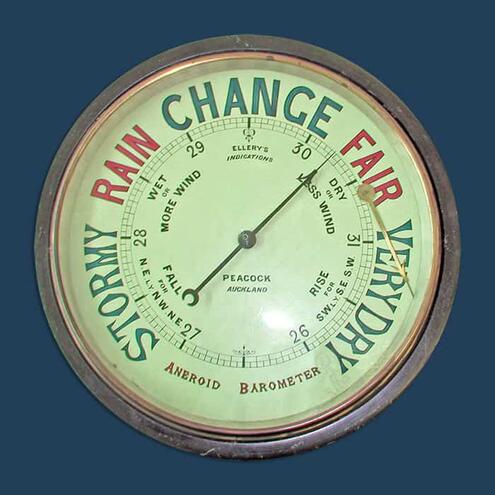
Barometer
Meteorologists pay close attention to air pressure. That's because changes in air pressure bring changes in weather. High air pressure signals clear skies and mild weather. Low air pressure brings cloudy, rainy weather. What kind of air pressure do you think you'd find in the center of a tornado or hurricane?
Build your own barometer to measure air pressure. Then try making your own forecast based on the changes in air pressure you observe.
The Materials
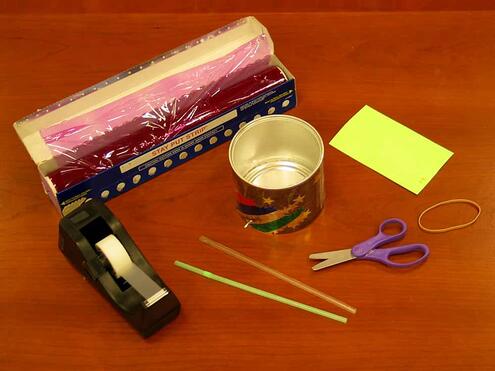
- Small coffee can
- Plastic wrap
- Scissors
- 2 straws (one flexible and one straight)
- Ruled index card
- Rubber band
- Clear tape
- Printout of your Weather Chart
What To Do
Part 1: Make Your Barometer

Cover the top of the can with plastic wrap like the top of a drum. Use a rubber band to hold the plastic wrap in place. The cover should be tight so air cannot escape the can.
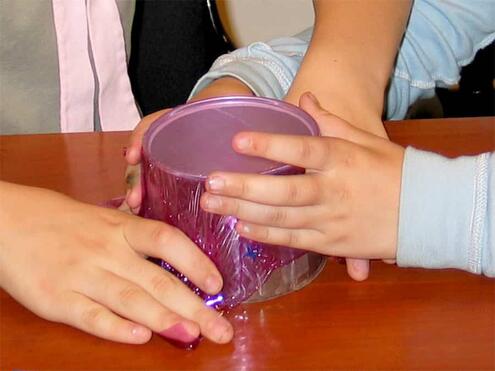
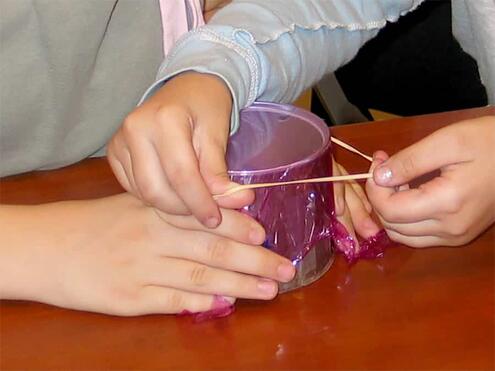

Bend your flexible straw into an L-shape. Lay the longer part of the straw over the plastic wrap so that the end of the straw is on the middle of the can, and the bent part is hanging over the side of the can (the straw needs to be level with the top of the can).
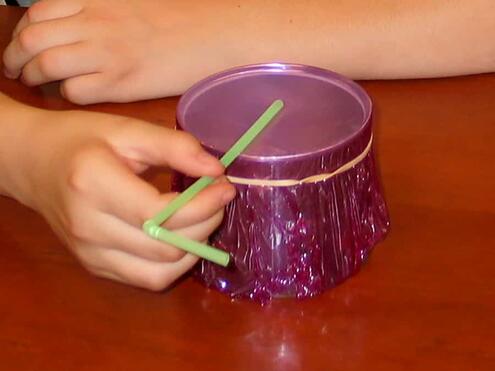

Tape the straw to the middle of the plastic wrap.
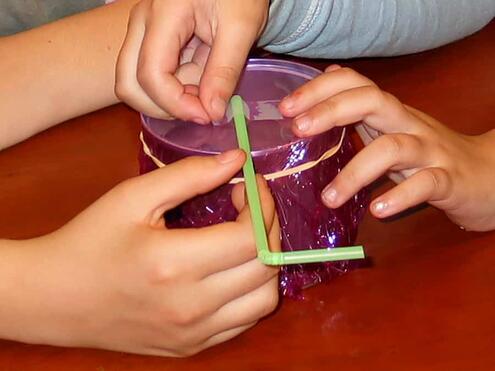

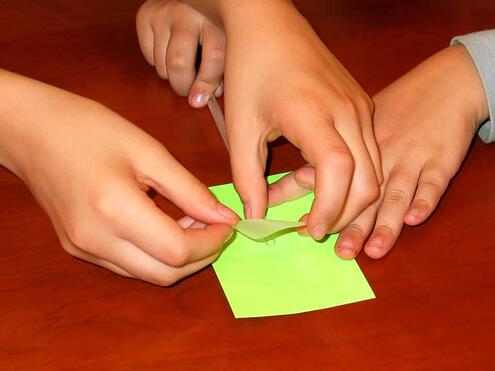
Place the end of the straight straw lengthwise to the middle of the index card. Tape them together. Then tape the other end of the straw towards the top of the side of the can.
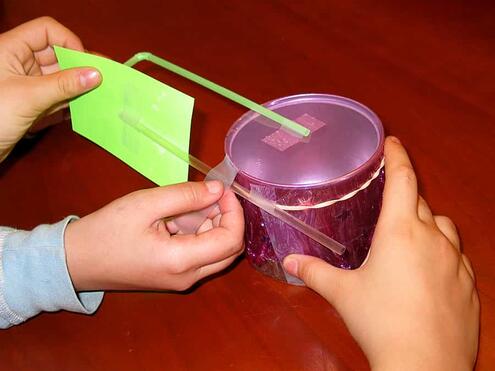
Part 2: Measure Air Pressure

Place your barometer on a table or flat surface. Make sure it's inside and not near a window, since it might be affected by temperature.

Carefully record the height of the straw on the index card. Mark it with a marker and put the number 1 on it.
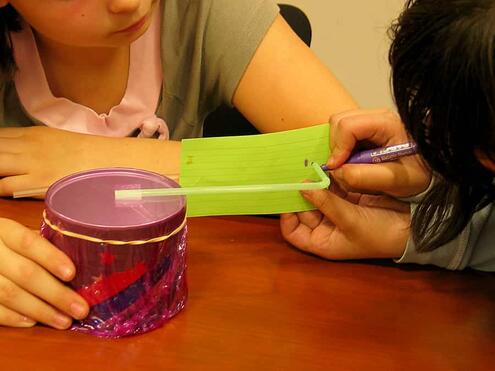

After 30 minutes, record the new location of the straw on the index card with the number 2.
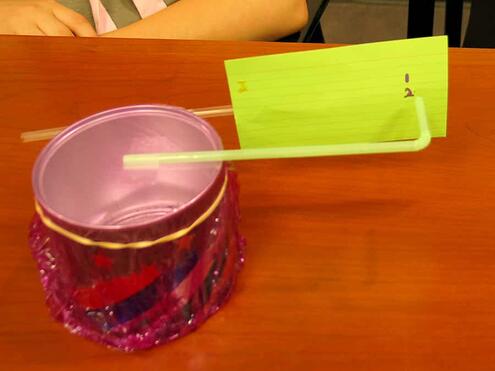

Keep checking back to see if the straw has moved. Each time, mark the index card to show the straw's new location. It's best to make these measurements for at least half a day.

The straw moves up and down as the air pressure changes.
- If the straw's tip moves up, that means the air pressure is increasing. The plastic wrap depresses with higher pressure, thus raising the straw's tip. High pressure usually means the weather will be clear and pleasant.
- If the straw's tip moves down, that means the air pressure is falling. Under low pressure, the plastic wrap relaxes and would even rise because of the build-in pressure inside the can, thus lowering the straw's tip. Low pressure usually means that cloudy or rainy weather is on the way.

Determine whether the air pressure is rising or falling. Then record the date and your findings in your Weather Chart.
Image Credits:
Barometer, courtesy of Auckland Museum, CC BY 4.0, via Wikimedia Commons; all other images, courtesy of AMNH.


 Biodiversity
 Brain
Brain
 Genetics
 Marine BiOLogy
 MicrobiOLogy
 PaleontOLogy
 ZoOLogy
 AnthropOLogy
 ArchaeOLogy
 Astronomy
 Climate Change
 Earth
Earth
 Physics
 Water
Water
