BURIED BONES
Fossilized bones are usually very delicate and deeply buried in rocks. Removing them in a lab takes skill, patience, and the right tools.
In this activity, you and a friend will create two make-believe dig sites by burying chicken bones in plaster of Paris – a powder that hardens when wet. Then you'll try to excavate (dig out) the "fossils."
What You Need
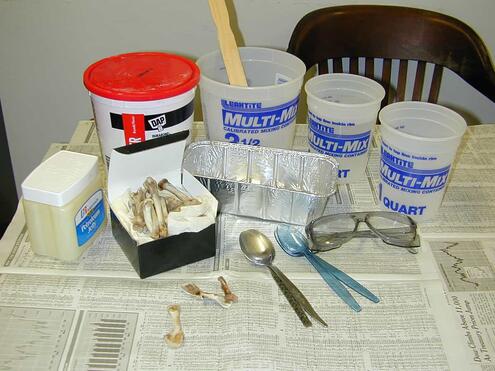
- an adult to help you - working with plaster of Paris can be dangerous if not done properly
- 2 empty containers that can be thrown away after you are done
- 1 small box of plaster of Paris (available at hardware stores)
- about 4-6 chicken bones, all meat removed
- measuring cup (1 cup)
- 2 disposable plastic spoons
- 2 disposable bowls for mixing (made of thick paper or plastic)
- old newspaper (to protect the surface you'll be working on)
- 2 metal spoons
- lotion or petroleum jelly
What To Do

Put a double layer of newspaper on the floor or table where you'll be working.

With an adult, read the instructions and warning on the box of plaster of Paris. It is very important that you find an adult to help you. You have to be careful working with plaster.
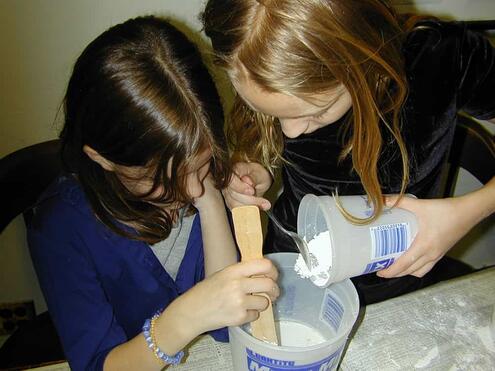

Write your initials on the outside of the container. Put lotion or petroleum jelly on the bones.
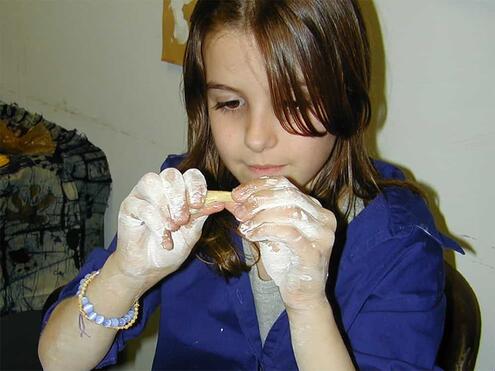

Then, arrange the bones at the bottom of the container. (Don't look into each other's containers, so you'll be surprised later when you excavate the bones. For fun, you can use a permanent marker to write a short secret message on one of the bones before you "bury" it.)
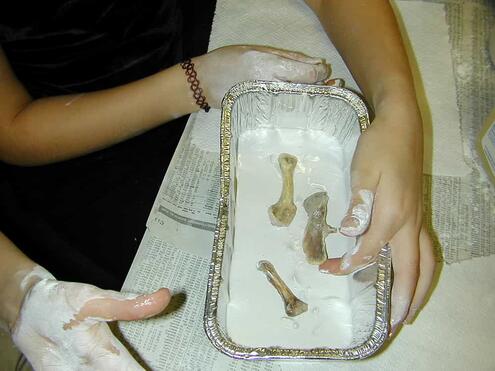

Put 1 cup of plaster of Paris in one of the disposable bowls.Then add 1 cup of cold water and stir with the plastic spoon. Pour this mixture into the container, covering the bones. If you're using more than one container, repeat this step and pour the plaster mixture into the other containers. Then wash off any plaster that got on your hands or clothes.
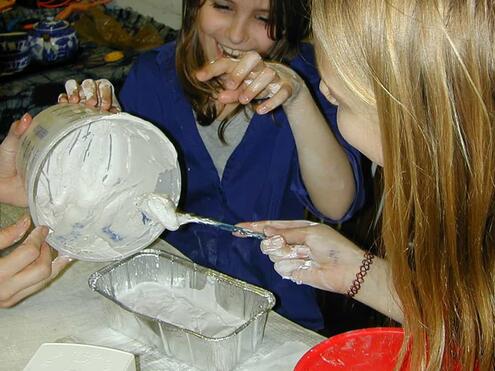

Wait about 30 minutes. During this time, don't touch the containers.
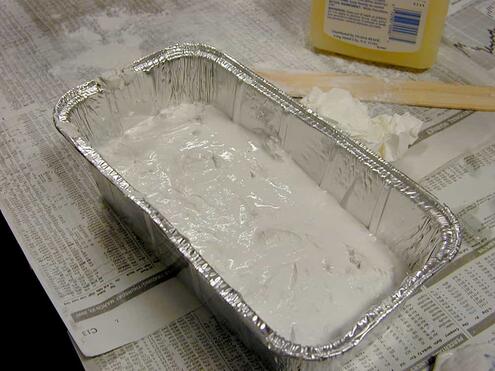

Exchange containers. You'll see that the plaster in them has hardened. Peel away the outside of the containers, so you end up with a chunk of plaster.
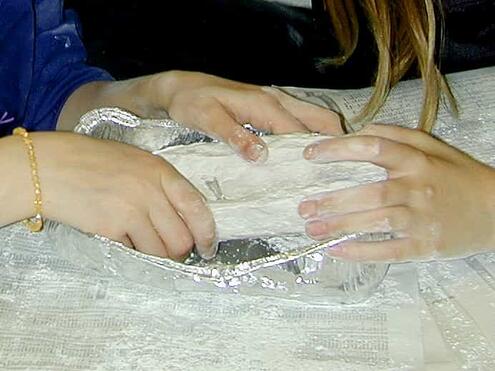

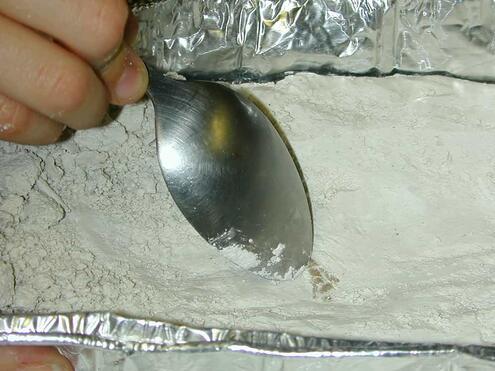
Use a metal spoon to carefully scrape away the plaster, bit by bit, until the bones are exposed. This process will take lots of time - most likely several hours. We recommend that you take a few days to excavate the bones, working about 15 or 20 minutes at a time.
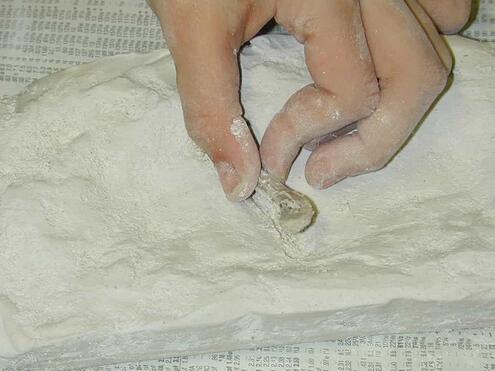

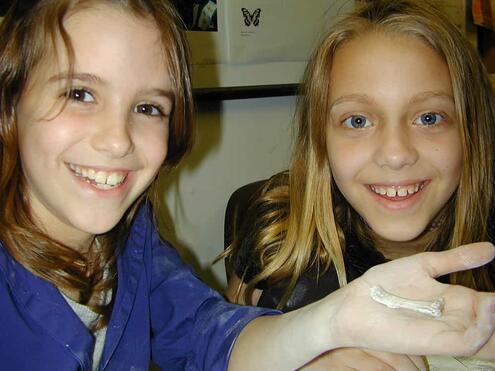
Once both of you have removed all the bones, talk with your friend about these questions:
What was surprising about excavating the bones?
What strategies did you find worked well for removing the plaster?
How would you have worked differently if you had no idea what was buried inside?


 Biodiversity
 Brain
Brain
 Genetics
 Marine BiOLogy
 MicrobiOLogy
 PaleontOLogy
 ZoOLogy
 AnthropOLogy
 ArchaeOLogy
 Astronomy
 Climate Change
 Earth
Earth
 Physics
 Water
Water
