Make a Wind Vane
to Measure Wind Direction
From a light breeze on a hot day to a violent hurricane, wind plays an important role in our weather. No matter where it happens, wind is caused by changes in temperature and air pressure.
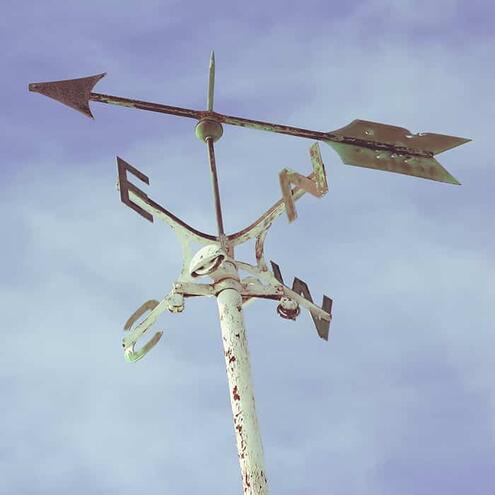
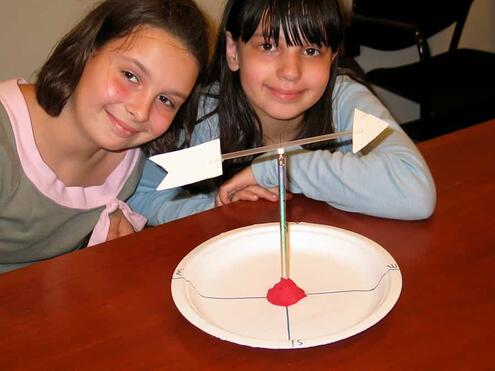
Wind vane
Meteorologists study the strength and the direction of wind. One tool they use for measuring wind direction is a wind vane. It spins and points in the direction from which the wind is blowing.
The wind can blow in every direction, but in many places most winds will blow in the same general direction. Make a tool that you can use to find out what direction the winds usually blow in your area.
The Materials
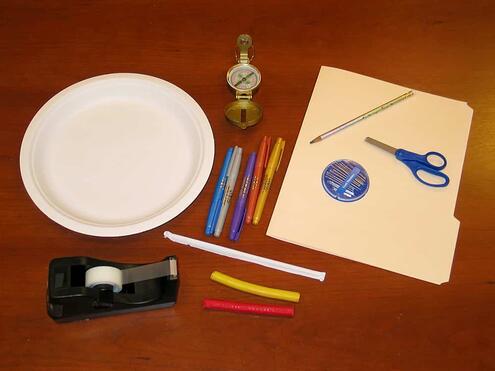
- Paper plate
- Marker
- Compass
- Printout of wind vane cutouts (PDF)
- Cardboard or folder
- Straight pin
- Scissors
- Clear tape
- Sharpened pencil with a new eraser
- Plastic drinking straw
- Modeling clay
- Printout of your Weather Chart (PDF)
What To Do
Part 1: Make Your Wind Vane

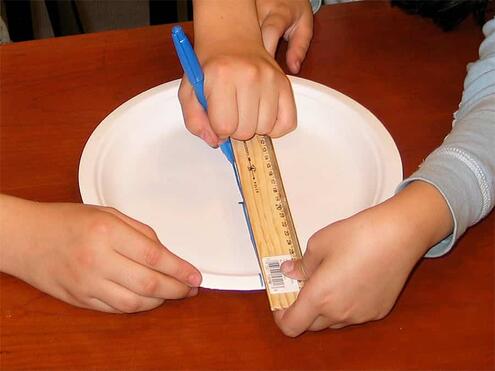
Use a marker to draw a line down the middle of your paper plate. Then draw a second line across the middle of the plate, running in the opposite direction.
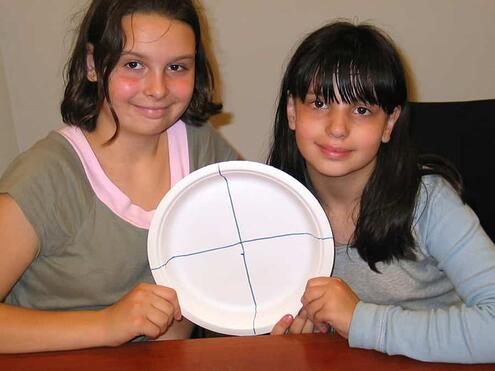

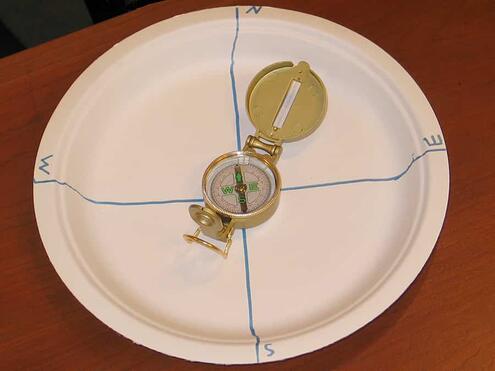
At the edge of the plate, label the four lines: north (N), south (S), east (E), and west (W). South is opposite of north; east is the the right of north; west is left of north.

Cut out the wind vane shapes from the printout. Trace the shapes on your cardboard or folder and cut out the shapes with scissors.
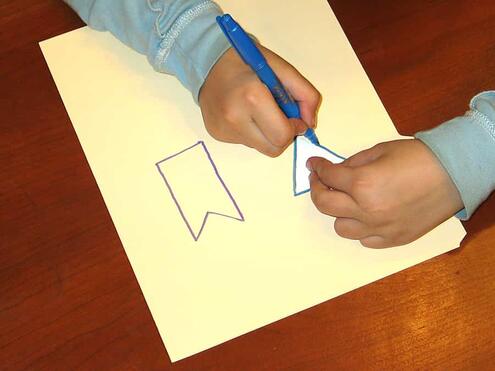
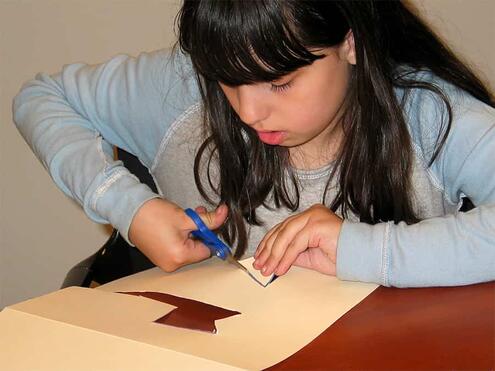

Cut two 1/2-inch slits, directly across from each other, into one end of the straw.
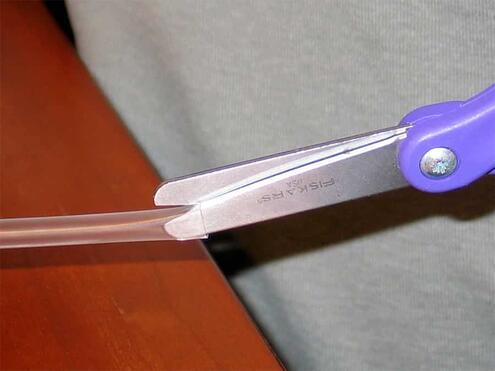

Slide the arrow point into the cut straw.

Cut slits on the other end of the straw, making sure the new slits match up with the ones on the other side. It is important that the arrow point and arrow tail are at the same angle.
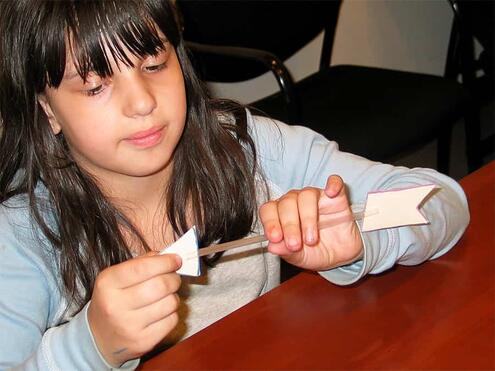

Slide the arrow tail into the cut.

Use small pieces of tape to keep the arrow point and tail in place.

Attach a lump of modeling clay to the center of your paper plate where the two lines meet. This is the base of your wind vane.
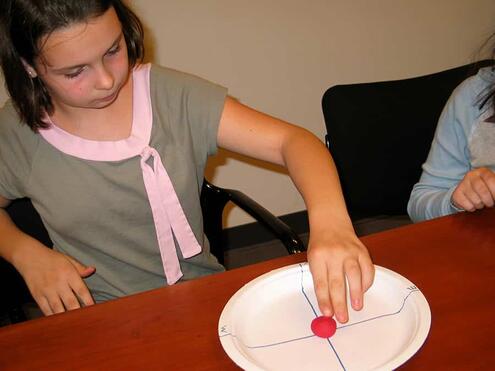

Stick the sharp end of the pencil into the lump of clay so that the pencil stands straight up.

To attach the straw to the pencil, first hold the straw above the pencil, making sure that the arrow point and tail are flat towards you.

You may need an adult to help you here. Push a straight pin through the middle of the straw. Then stick it into the middle of the pencil's eraser.
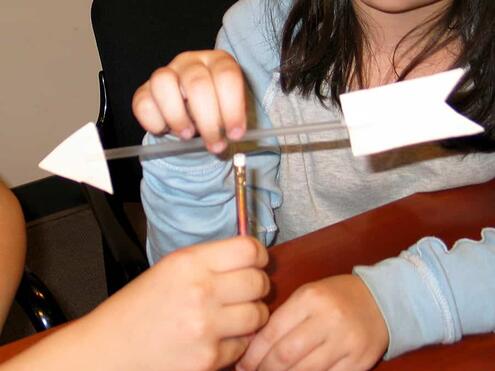
Blow on the vane to make sure that the arrow can spin freely.
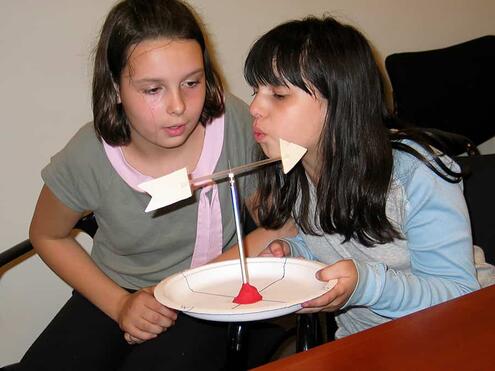
Part 2: Measure Wind Direction

Take your wind vane outside and place it in an open area. Place the compass in the center of your paper plate. Turn your plate so that line labeled N matches up with the compass arrow pointing north. What direction is the wind blowing?
(Remember: The arrow points in the direction the wind is blowing from. So if your wind vane is pointing north, the wind is actually blowing south.)

Record the date and results in your Weather Chart.
Image Credits:
Wind vane, by Jordan Ladikos on Unsplash; all other images, courtesy of AMNH.


 Biodiversity
 Brain
Brain
 Genetics
 Marine BiOLogy
 MicrobiOLogy
 PaleontOLogy
 ZoOLogy
 AnthropOLogy
 ArchaeOLogy
 Astronomy
 Climate Change
 Earth
Earth
 Physics
 Water
Water
