Start a
Rock Collection
Every rock has a story to tell. Rocks hold evidence that helps us figure out how mountains formed, where glaciers once flowed over the United States, or what kinds of plants and animals lived on Earth. Rocks show us how Earth has changed and how it's still changing, even today! They give us important clues about Earth's history.
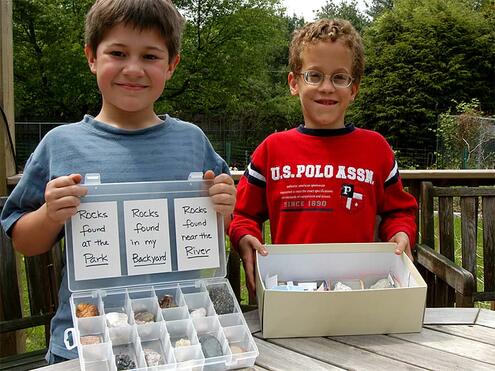
You can begin learning about rocks just by looking at them. If you look closely, you'll notice that rocks from different places have different textures, shapes, and colors. These observations give important clues about what a rock is made of and its history. For example, a rock might become smooth and round after years of grinding against other rocks in a river or near the coast of an ocean. A jagged rock has probably been through less wear and tear from wind, rain, or ice.
You can find rocks almost anywhere. Here's how you can start your own rock collection.
Step #1:
Collect Your Rocks
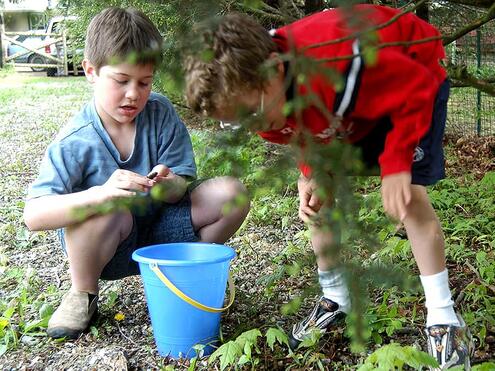
The first step to making a rock collection is finding your rocks. You'll find rocks just about anywhere. If you want a good variety of rocks, be sure to look in many different places. Rocks can be very different depending on where they come from!
It's also important to record information about each rock you find. This information helps tell the story of each rock.
There are just a couple things to remember:
1. Don't go alone.
2. Make sure you always have an adult with you.
Materials
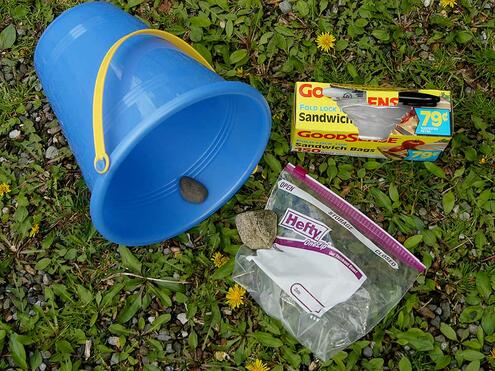
- Sandwich bags
- Small shovel or spade
- Permanent marker
- Printout of My Rock Chart
- Bucket, bag, or backpack to carry your rocks
- Deep bowl, pot, or bucket to clean your rocks
- Soap or dishwashing liquid to clean your rocks
- Old rag or paper towels
What To Do
Look for at least 10 rocks in different places, like a playground, park, beach, or along a lake or river. Avoid collecting from places like gravel pits or gravel dunes. Choose rocks that are easy to carry, but not too small. Try to select rocks that are at least as big as your fist.
If part of a rock is buried, use your shovel to dig it out.
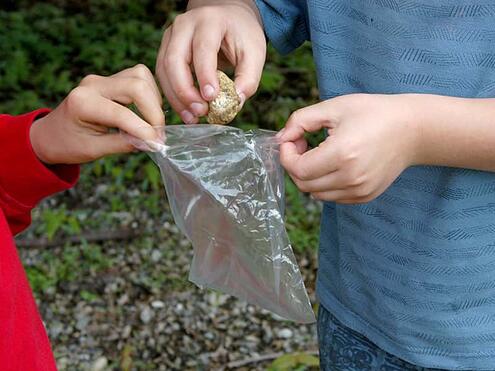
Put each rock in a separate sandwich bag. Use your marker to write the rock number (starting with 1) and the date on the bag.
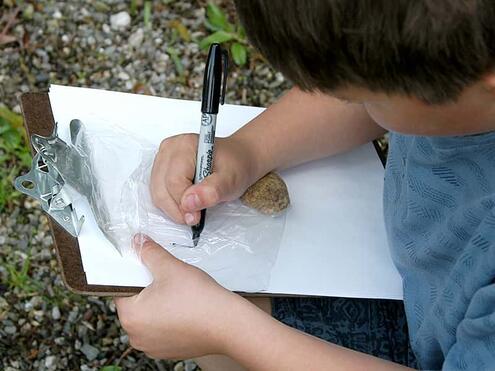
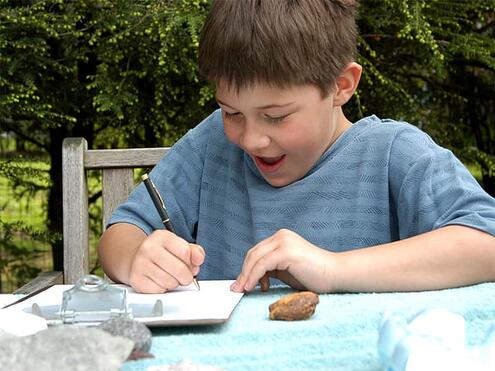
Write the rock number and date on your Rock Chart. In the next column, write the place where you found the rock. For example, was it at a park? Under a tree? By the road? Was it with other rocks? Write down any additional information in the Notes column.
Place the rock sample in your bucket, bag, or backpack.
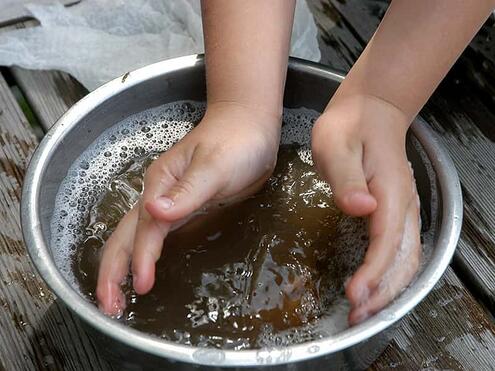
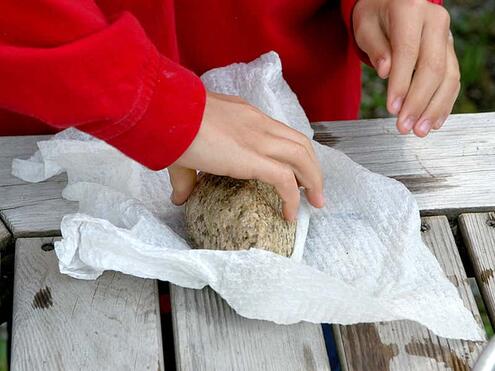
When you get home, clean your rocks. Put warm water and soap in a bucket and rinse off each rock, one by one. Wipe the rock with a rag or paper towel to dry it completely. Then place it back in its bag.
Step #2:
Observe and Sort Your Rocks
When geologists study a rock, they examine its shape, size, texture, and color. They consider where the rock was found, too. But they also study things they can't see, like a rock's hardness. Geologists use special instruments to test rocks in the lab.
Now it's your turn to examine the rocks you found. After you record your observations, sort them into different categories. You can organize them by physical traits, like shape or color. You can also organize them by where they were found.
Materials
- Your rock samples in their bags
- Printout of My Rock Chart
- Pencil
What To Do

Be sure you have your Rock Chart, your rock samples, a pencil, and a big place to work. Spread out your rocks on the table or floor.
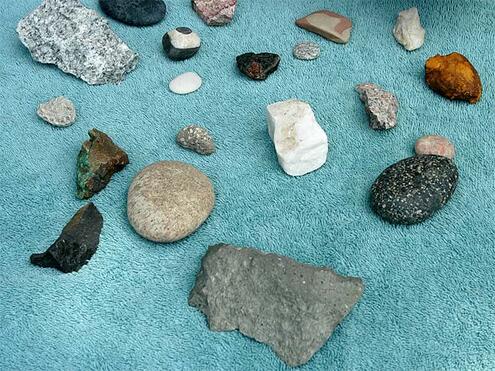

Now take the rock out of its bag. Look at it closely. Turn it around in your hand. Feel its texture. As you examine the rock, consider the different traits below. As you do, record your observations in your Rock Chart.
- Size: How big is it? Think of something about the same size, like an apple or a kiwi.
- Color: What color is it? Is it the same color all over, or is there a mix of colors?
- Texture: How does it feel? Is it smooth, rough, or bumpy?
- Shape: What shape is it? Is it flat? Round? Does it have sharp edges? Think of something with a similar shape, like a lemon or a strawberry.
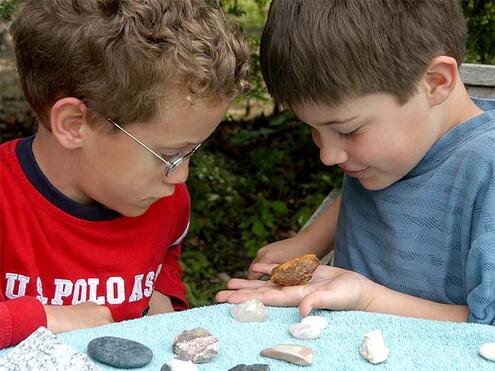

Now try sorting your rocks into a few different categories. You might organize them by physical characteristics, like color or texture. Or you could organize them by where they were found.

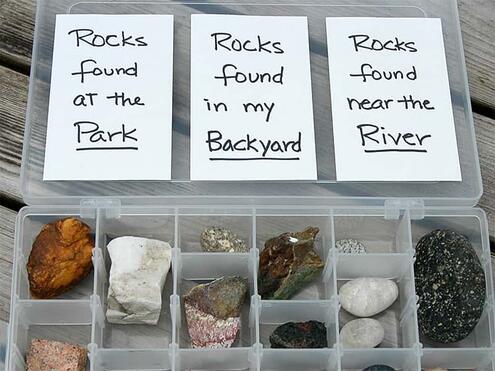
Next, choose one way to organize your rocks. Then decide how you would describe each group. For example, if you organized your rocks by size, you might put them into three groups: large (size of an orange or bigger), medium (about the size of a kiwi), and small (the size of a strawberry or smaller). Or if you organized them by where they were found, the groups might be: at the park, near the lake, and in the backyard.
Step #3:
Display Your Rocks
At the Museum, many rocks are on display from all kinds of places. They might be organized by where they were found, what they're made of, or even type of rock.
Now it's your turn to display the rocks you found.
Materials
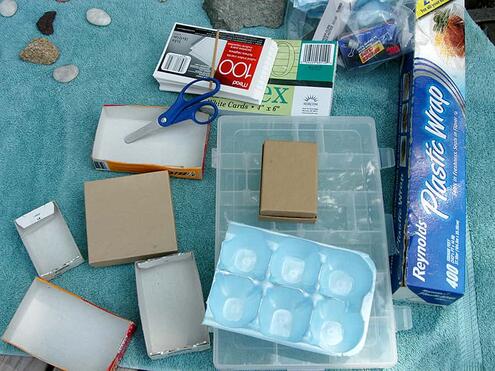
- Containers to hold rocks. Here are a few ideas. Choose the materials that fit your needs:
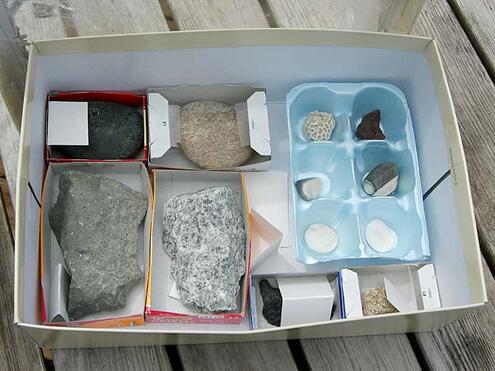
- 1 shoe box or other large box
- Assortment of small boxes or containers (such as a small store box, a paper clip box, or a film canister)
- Empty egg carton and scissors
- Clear plastic tray with small dividers (you can find these at hardware or home stores)
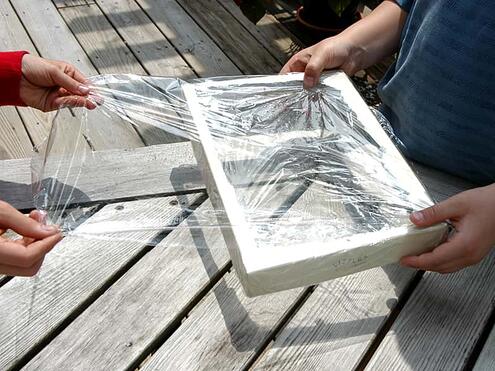
- Clear plastic wrap (optional)
What To Do

In Step #2, you organized your rocks into groups. Arrange the rocks on a table, placing them together in their groups.
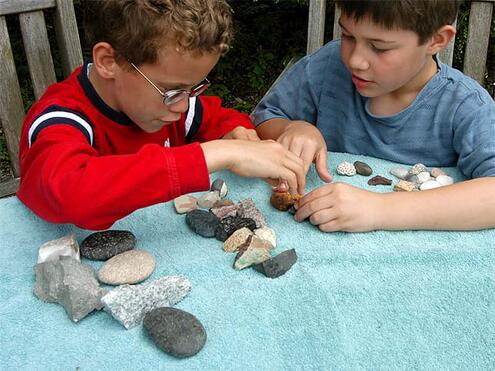

Place each group of rocks into small boxes or containers. You could also put your rocks in the holes of an egg carton. Use scissors to cut out the number of holes you need. Now put your small boxes into a large box like a shoebox.
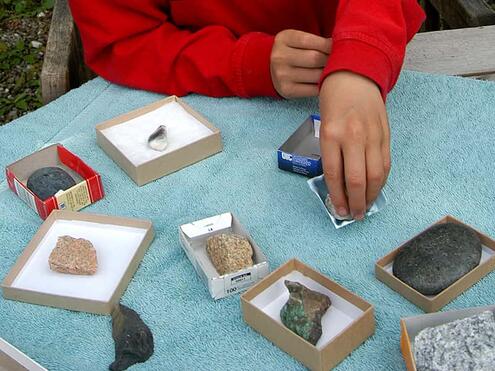

If you're using a clear plastic tray or container with dividers, just put your rocks into each section.


You can make your display labels in different ways.
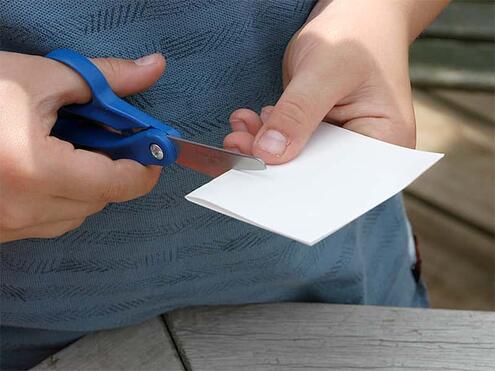
- Cut an index card in half or quarters, then fold and write on the pieces and tuck them into the boxes for 'standing' labels.
- Or, you can write on one big piece of index card for each of the sections.

If you're using a shoebox, cut a large hole in the box cover and cover it with plastic wrap.
Try this!
Can you identify the rocks you found?
Image Credits:
Photos: courtesy of AMNH, Carl Bespolka


 Biodiversity
 Brain
Brain
 Genetics
 Marine BiOLogy
 MicrobiOLogy
 PaleontOLogy
 ZoOLogy
 AnthropOLogy
 ArchaeOLogy
 Astronomy
 Climate Change
 Earth
Earth
 Physics
 Water
Water
