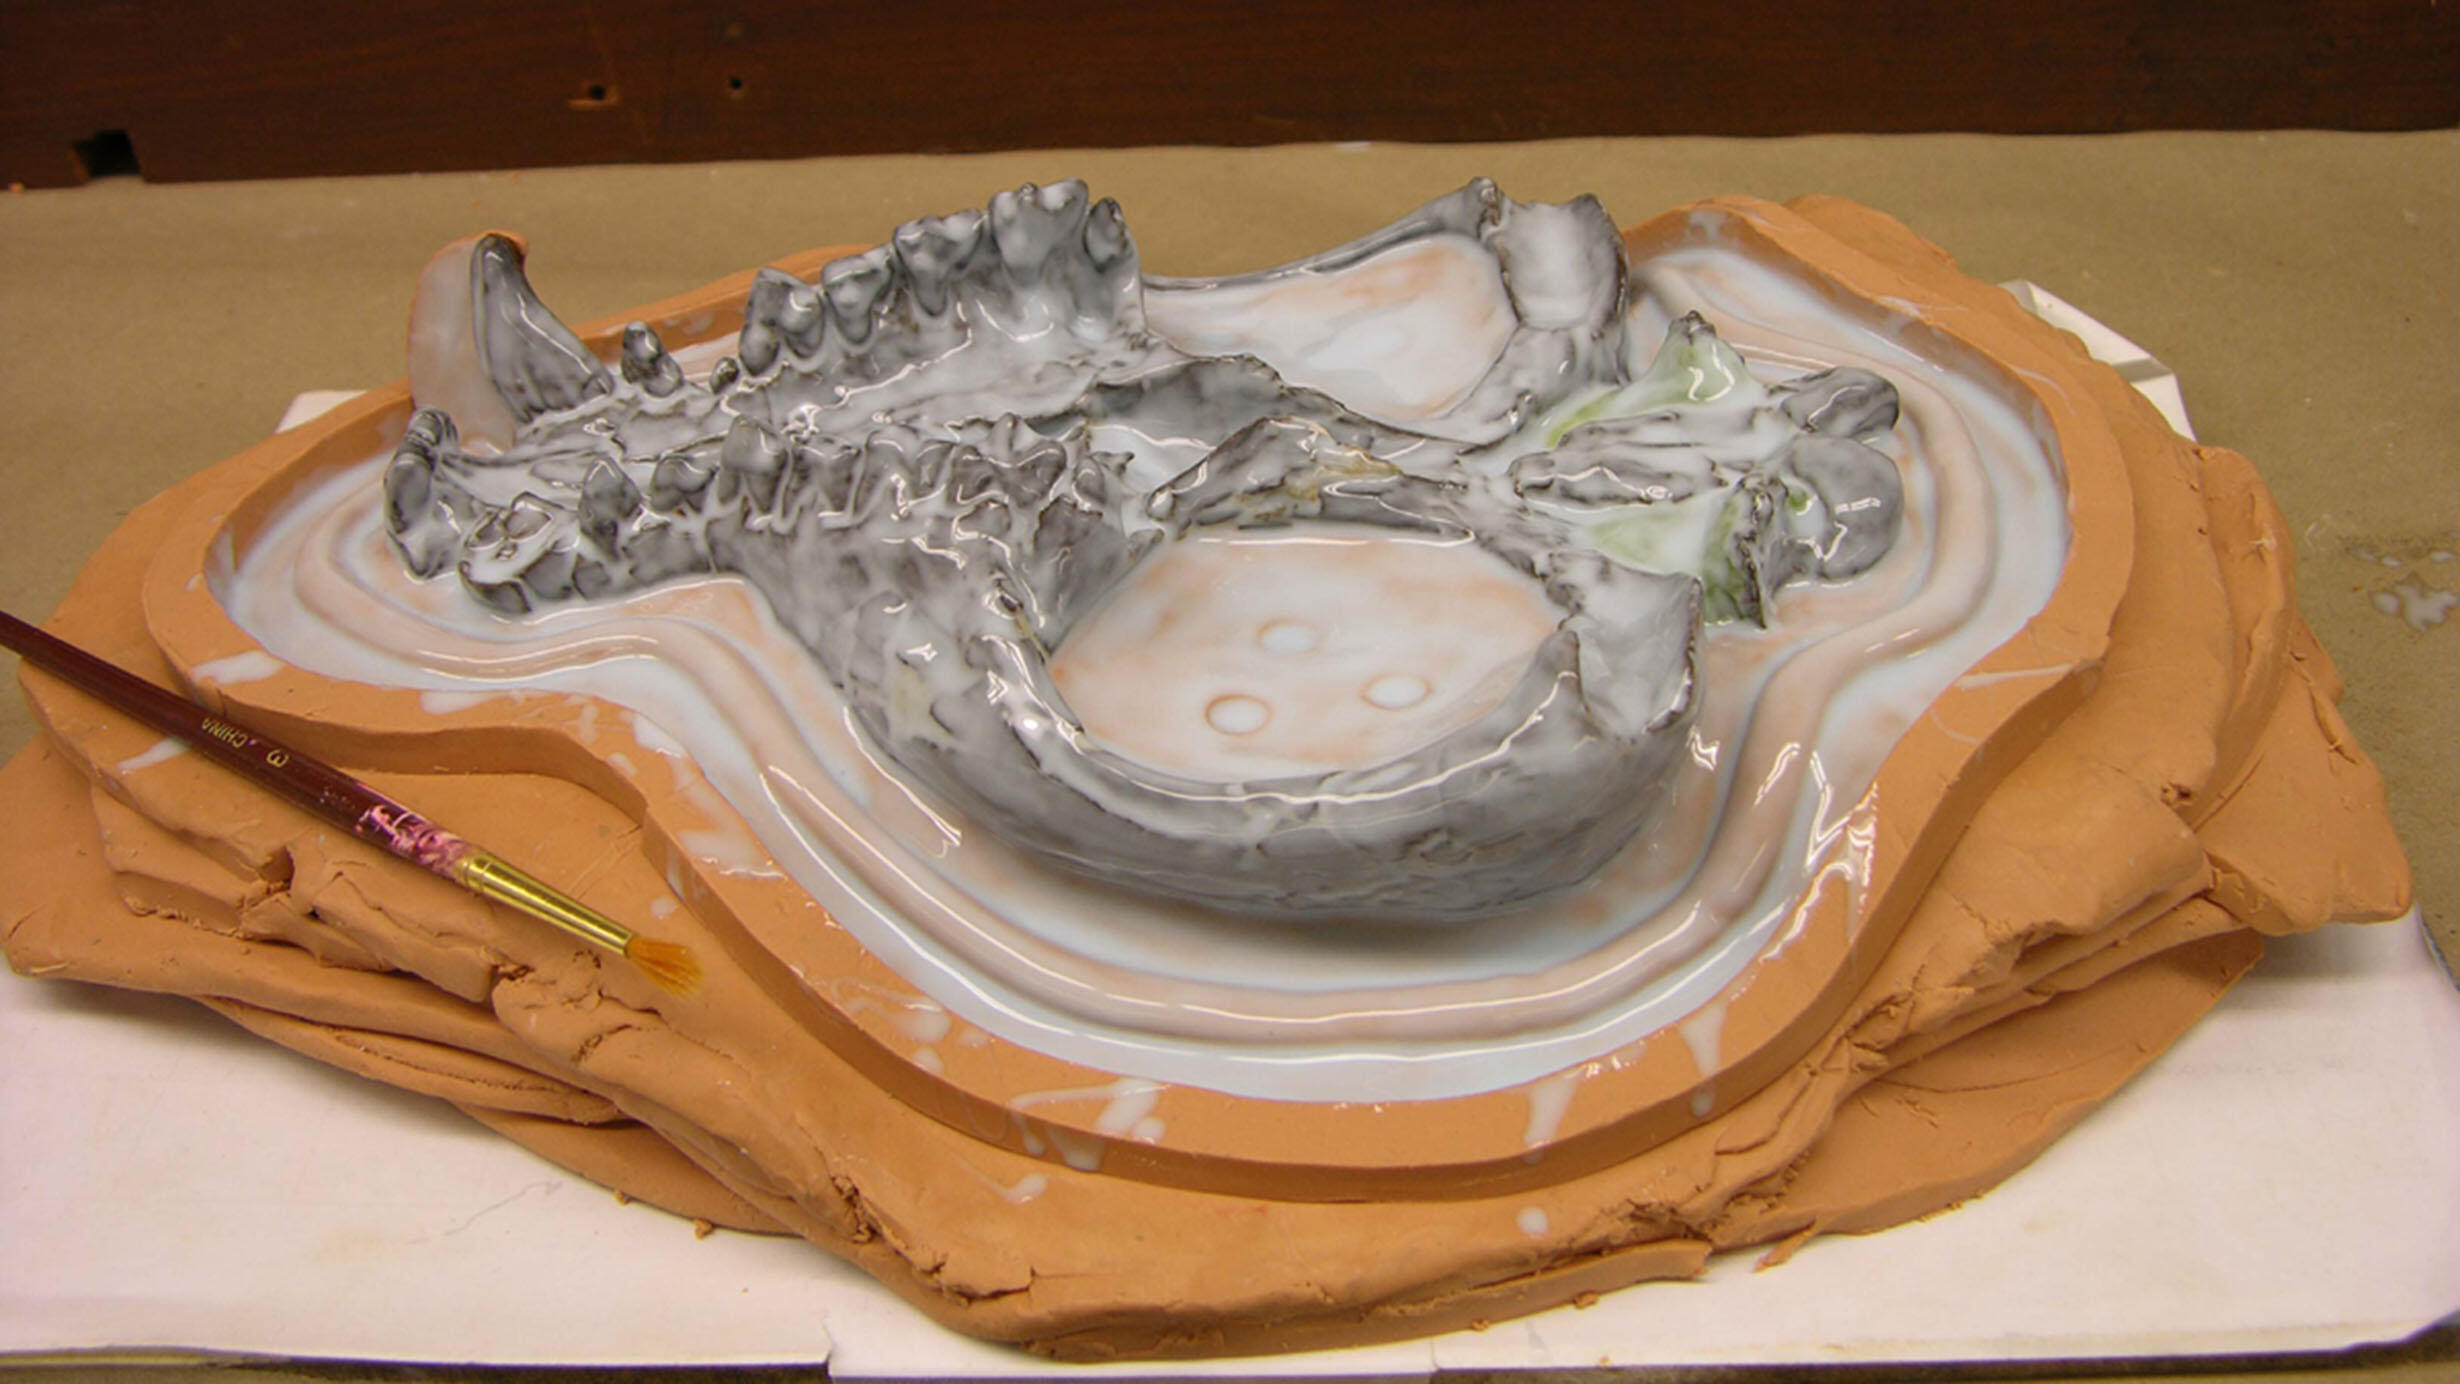
Molding and Casting
 © AMNH
Molds are made from fossils in order to make reproductions of the fossil by casting.
There are a number of reasons why this is done:
- To share information with other researchers
- To preserve a specimen in situ before disarticulation
- To make surface details clearer for black and white photography
While casts are not ideal for some research, it is not always possible to examine original specimens. Because the cast may be all that a researcher ever sees of a specimen, it is important to represent the original as completely as possible. The goal of moldmaking is to reproduce the information contained in the original as completely as possible without damaging the specimen.
There are two basic kinds of molds:
No two molds can be done in exactly the same way as every specimen is unique and therefore has different challenges, but the setup and decision-making rationale is similar for both solid-poured and thin-walled molds.
Planning
As with any potentially damaging procedure, it is important to plan carefully before beginning the molding of a specimen. The following preparatory steps are essential:
- Examine the specimen: It’s important to ensure that the fossil can stand up to the rigors of the moldmaking process. Weak points in the fossil need to be identified, as well as any deep recesses (undercuts) that will cause trouble when demolding; it may be necessary to fill these holes if there is too great a risk of damage.
- Discuss the molding process with the researcher: By talking to the requesting curator/researcher you can find out exactly what morphological information they want to retain in the cast. This is also your opportunity to explain to them if there are any areas that, if molded, could potentially damage the specimen.
- Understand the repercussions: The application of materials on a specimen such as consolidants, Carbowax and molding rubbers nearly always involves some changes that are irreversible. These changes may preclude the future use of the specimen for certain types of research. This may be acceptable or necessary but should not be undertaken without an understanding of the repercussions.
- Ensure that you have any necessary permission: Researchers often wish to mold specimens that are on loan from another institution. This should never be done without obtaining written permission from the lending institution, usually in the form of a letter or email from the relevant curator or collection manager. Even for in-house molding, you should always make sure that the appropriate approval procedures have been followed.
- Record any information written on the specimen: You should ensure that the name of the specimen, its catalog and/or field number, plus any other important information is written down and stored in an accessible place before you begin molding as this information can become damaged or illegible during the process. To prevent any confusion the information should be written on the jacket as well as noted on the mold.
- Keep records of all materials used on the specimen, in the mold and cast: The details of your work need to be recorded and kept on file, either as paper records or, ideally, in some form of database. They may be vital to future generations of researchers and preparators if there is ever need to perform analysis, undo joins, or reverse consolidation.
- Clean the specimen thoroughly: It’s important not to mold dirt, old adhesives or consolidants, etc. Time spent cleaning the specimen is essential to producing a good mold.
- Preserve as much original information as possible: Fills should not hide original surfaces and should be delineated so that these areas can be distinguished in the cast from the original specimen.
- Use molding and casting materials safely: Read the Material Safety Data Sheets for all materials that you are using. Ensure that you have access to the appropriate personal protective equipment (e.g. rubber gloves and an apron) and that there is proper ventilation or fume extraction for using silicone, latex, plaster and polyester. Don't eat or drink while you are working with these materials.
Consolidation and Filling
Before a specimen can be molded, it may require treatment by the preparator to improve strength and reduce the possibility of damage occurring when the completed mold is removed. There are two basic types of pre-treatment: consolidation/coating and filling.
Molding
Once the specimen has been treated, molding can commence. There are a number of different molding techniques and it is important to choose the most suitable one for the specimen in question before beginning work. Molds are generally made in silicone rubber, polyurethane rubber, or latex rubber. Each material has different properties and characteristics. By understanding these materials and techniques, most fossils can be successfully molded without harm.
Jacketing, Demolding, & Cleaning
Casting
These Fossil Preparation resources were originally developed in 2007 with the support of the National Science Foundation (NSF).
![]()